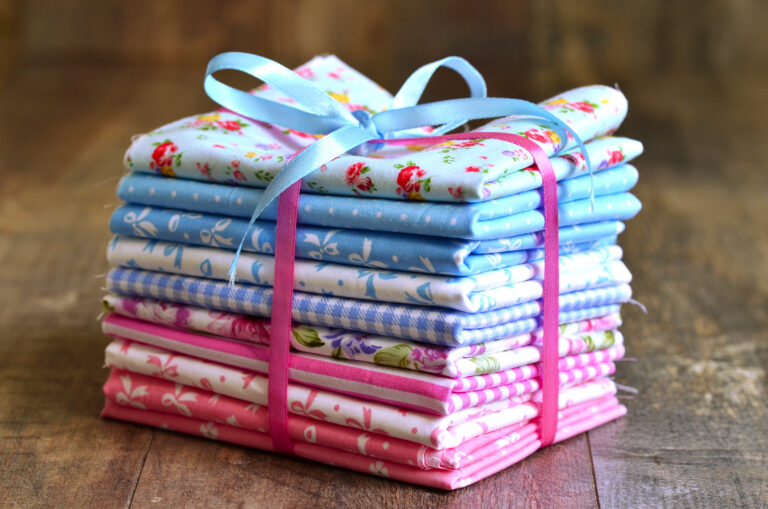
If you’ve ever looked at a sewing pattern and wondered what all those dotted lines and measurements are about then this post is for you. Seam allowances are one of those things that sound a bit technical but are actually really simple once someone explains them properly. And once you understand them, so much else about sewing suddenly makes sense.
Think of it like the margins in an exercise book – that little bit of space between the edge of the page and where you start writing. A seam allowance is exactly that: the fabric between the edge of your cut piece and the line where you actually stitch. Simple as that!
So What Exactly is a Seam Allowance?
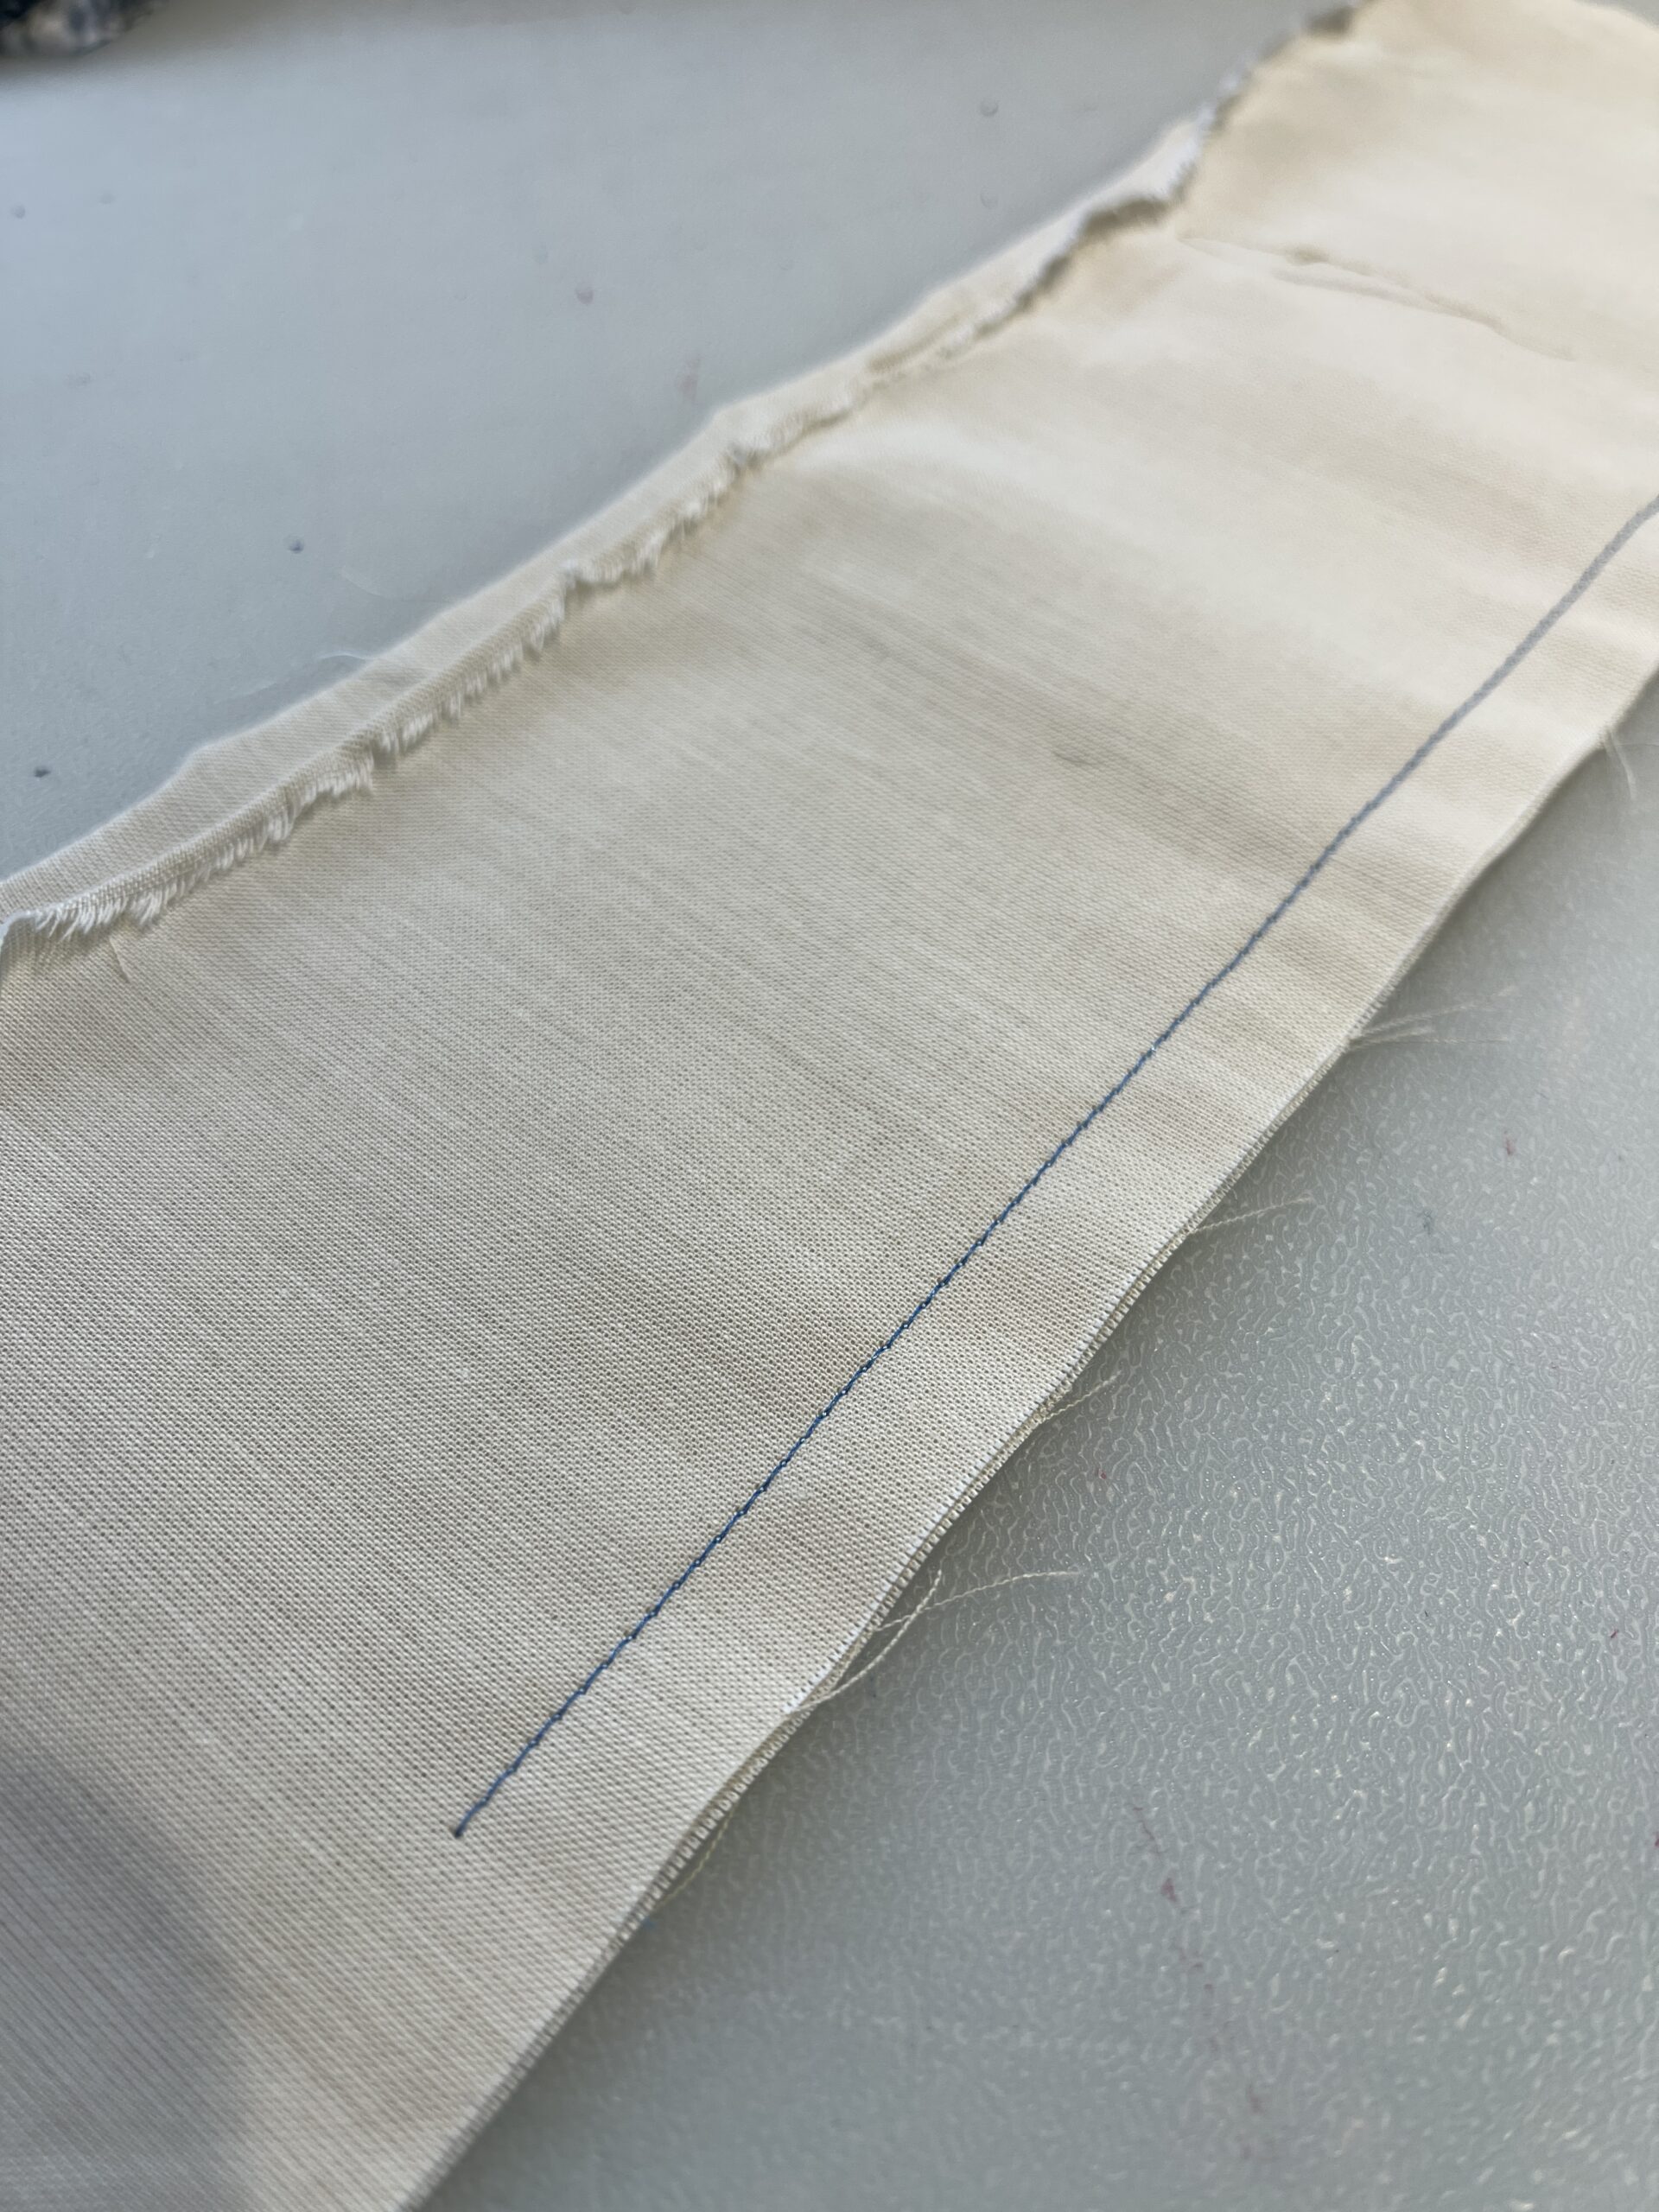
When you cut out a piece of fabric from a pattern, the pattern piece is slightly larger than the finished size of the garment or project. That extra fabric, between the cut edge and the stitching line, is the seam allowance. It’s what holds everything together when you sew two pieces of fabric into one.
Without seam allowances, you’d stitch right at the very edge of the fabric, and the whole thing would fall apart or at the very least, fray badly. The seam allowance gives your seam room to breathe, strength to hold, and (usefully!) a bit of leeway if you need to adjust the fit later.
Standard Seam Allowance Measurements
Different projects use different seam allowances, and your pattern should always tell you which one to use. Here are the most common ones you’ll come across:
Standard Seam Allowance Measurements
- 5/8 inch (1.5 cm) is the most common in commercial patterns, especially American ones. If a pattern doesn’t specify, this is usually a safe assumption.
- 3/8 inch (1cm) is common in European patterns. Worth checking before you start if you’re using a pattern from a UK or European brand.
- 1/4 inch (6mm) is used in quilting, and often in knit garment patterns and lightweight fabrics.
- 1 inch (2.5 cm) is used for heavy fabrics, fabrics that fray badly, or seams that might need adjusting later.
- 1/2 inch (1.3cm) is often used in children’s clothing and simple craft projects.
A quick tip: always double-check the seam allowance before you start cutting. It sounds obvious but it’s one of those things that’s very easy to assume and very annoying to get wrong!
The most important thing to know is that even a tiny difference (as little as 1/8 inch) can make a project come out too big or too small. So accuracy really does matter here.
Why Seam Allowances Matter
There are a few really good reasons why seam allowances are worth paying attention to, even on simple beginner projects.
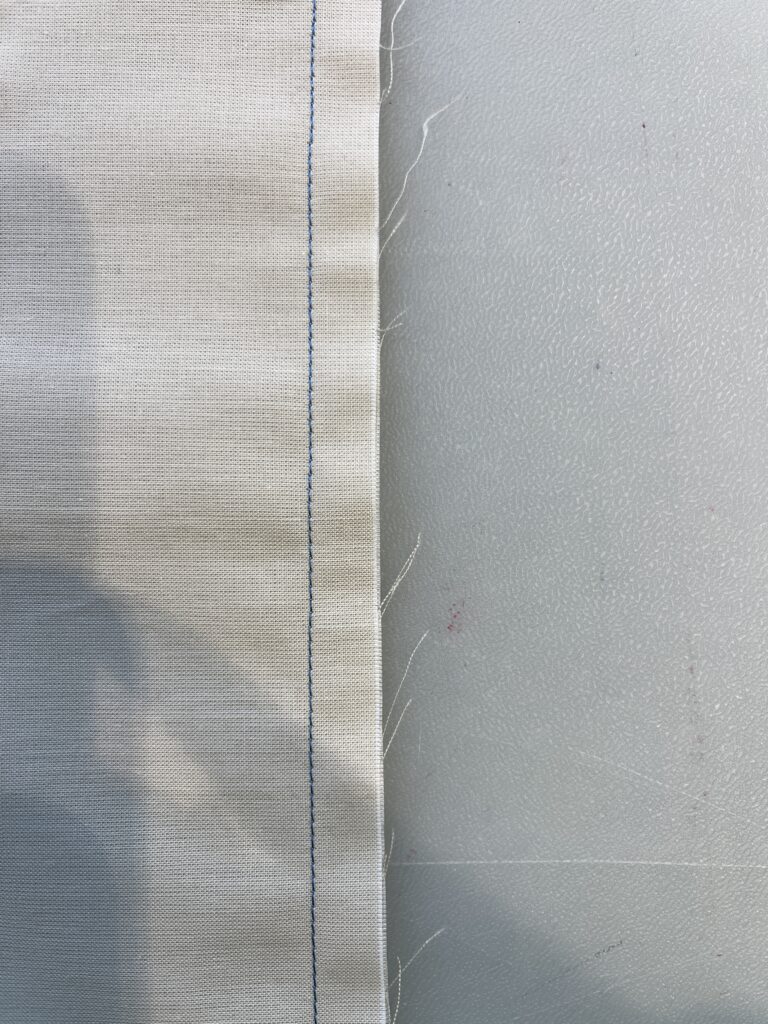
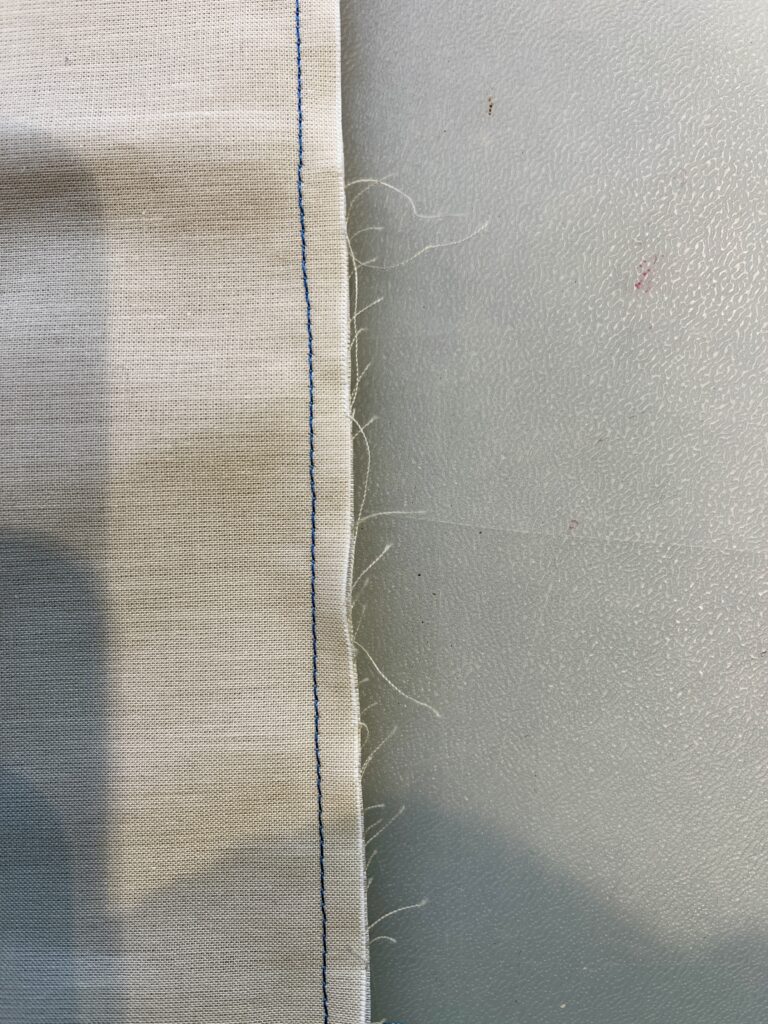
They Stop Your Fabric Fraying
Most woven fabrics will fray from the cut edge, it’s just what they do. The seam allowance acts as a buffer, keeping any fraying safely away from your stitching line and the body of the garment. If you finish your seam allowance (with a zigzag stitch, an overlocker, or a French seam) you’ll stop the fraying in its tracks altogether.
They Give You Room to Adjust the Fit
This is one of my favourite things about generous seam allowances – they give you wiggle room. If a garment comes out a little snug, a wider seam allowance means you can let the seam out slightly and get a better fit. On side seams especially, I’d always recommend having at least 1 inch if you can as it’s so useful to have that extra bit to play with.
They Make Your Seams Strong
A seam stitched right at the very edge of the fabric is a weak seam – it won’t take much strain before it starts to pull apart. The seam allowance gives the stitching something solid to hold onto, which means your finished project stays in one piece for a lot longer.

Do Different Fabrics Need Different Seam Allowances?
Yes, and this is where it gets a little interesting. The type of fabric you’re working with does affect what seam allowance works best:
• Loose weave fabrics (like linen or some wools) fray a lot, so you’ll want a wider seam allowance (3/4 inch or more) to give yourself plenty of buffer.
• Stable cottons and woven fabrics are fine with the standard 5/8 inch.
• Knit fabrics don’t fray at all, which is brilliant so they can use a narrower seam allowance of 1/4 to 1/2 inch without any problems.
I’d always recommend testing your seam allowance on a scrap piece of the same fabric before you start on the real thing. Every machine is slightly different, and a quick test saves a lot of frustration later.
How to Sew Accurate Seam Allowances
The good news is there are some really helpful tools and tricks that make sewing accurate seam allowances much easier:
• Use the markings on your sewing machine plate as most machines have seam allowance guides marked right there on the needle plate. Line your fabric edge up with the right marking and you’re good to go.
• The seam gauge – a small ruler with a sliding marker that helps you measure and mark consistently. A really handy little tool to have in your kit.
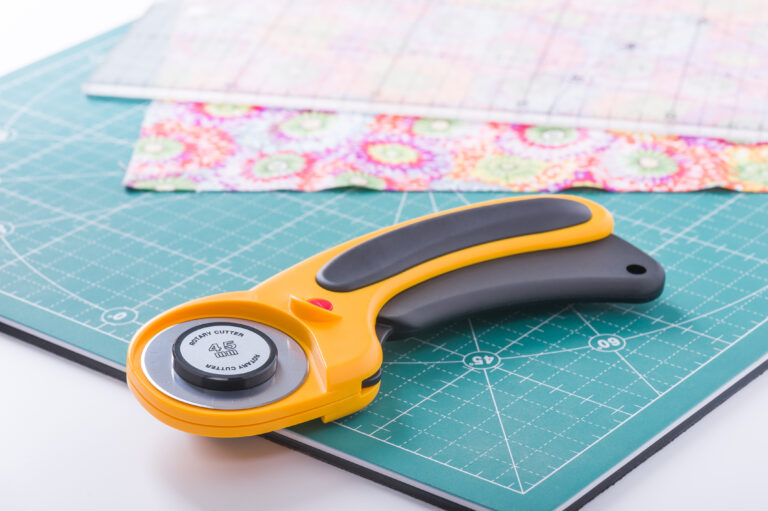
• A clear quilting ruler – brilliant for marking seam lines before you sew.
• A speciality presser foot – some feet have a guide built in, which takes all the guesswork out of it.
Get into the habit of testing your seam allowance at the start of every project even if it’s one you’ve made before. It takes two minutes and it means you can start sewing with confidence rather than fingers crossed!
Common Seam Allowance Mistakes (and How to Avoid Them)
These are the ones I see most often with beginners and honestly, I’ve made most of them myself at some point:
• Assuming all patterns use the same seam allowance because they don’t! Always check.
• Not checking American vs European patterns – American patterns typically use 5/8 inch, European ones often use 3/8 inch. It makes a difference.
• Skipping pattern markings – those little notches and dots are there for a reason. They help you match seam allowances accurately across multiple pieces.
• Rushing the marking – take your time transferring markings from your pattern to your fabric. It’s worth it.
• Not testing on scrap fabric first – always worth doing, especially with a new fabric or a new pattern.
You’ve Got This!
Seam allowances are one of those things that feel a bit mysterious right up until the moment they click and then you wonder what you were ever worried about. Once you’re in the habit of checking them at the start of every project, it just becomes part of how you sew.
If you found this helpful, come and join my free Sewing Library there’s a growing collection of beginner guides, free printables and resources in there that I think you’ll love. And if you haven’t already, have a read of my post on the most important tools for a beginner’s sewing kit getting your sewing equipment right makes everything else so much easier.
Any questions? Just pop me a message here.
Happy sewing!
Louisa x
FAQs (Frequently Asked Questions)
A seam allowance is the fabric between the edge of the fabric and the stitching line. Accuracy is vital to ensure proper fit, prevent fabric fraying and allows for adjusting fit.
Usually yes, most commercial patterns include the seam allowance in the pattern pieces. But some patterns, especially more couture or vintage ones, don’t include it at all, so always check the pattern instructions before you start cutting.
As seam allowances provide extra fabric beyond the stitching line it gives the fabric extra room to fray without impeding on the stitching line and seam strength.
Yes. Straight and curved seams often require different seam allowances in order to have smooth seams. Choosing the right seam allowance allows stress free sewing which produces well made sewing projects.
You’ll come across this term in quilting. A scant 1/4 inch is just a tiny bit less than a true 1/4 inch almost imperceptibly narrower. It accounts for the thread and fold of the fabric, and it matters in quilting because the more seams a quilt block has, the more any inaccuracies add up. It sounds fiddly but it becomes second nature quickly.
Accurately marking the seam line on you pattern can help in being precise in your sewing. Being consistent in your marking helps with the sewing and makes sure your seam are correct for the project you are making.
Yes, but carefully and make sure you change it consistently across every piece. It’s easiest to add or subtract the same amount all the way round each pattern piece.