If you have a favourite pair of jeans or jacket that has developed a tear or hole at the knee or elbow, there’s no need to part with it. A simple patch can repair the damage, and also lend a cool vintage vibe to the garment as well. It’s a cost effective and environmentally friendly way to extend the life of your clothes. Here are some tips to sew a perfect patch.
Choose the fabric
You can either select the same or similar fabric, so the repair is inconspicuous, or go the other way and make the patch a design feature of the garment. There are plenty of ready-made decorative patches available if you decide to explore this route. Avoid the iron-on kind, as these do not tend to stay in place very well.
Collect the equipment
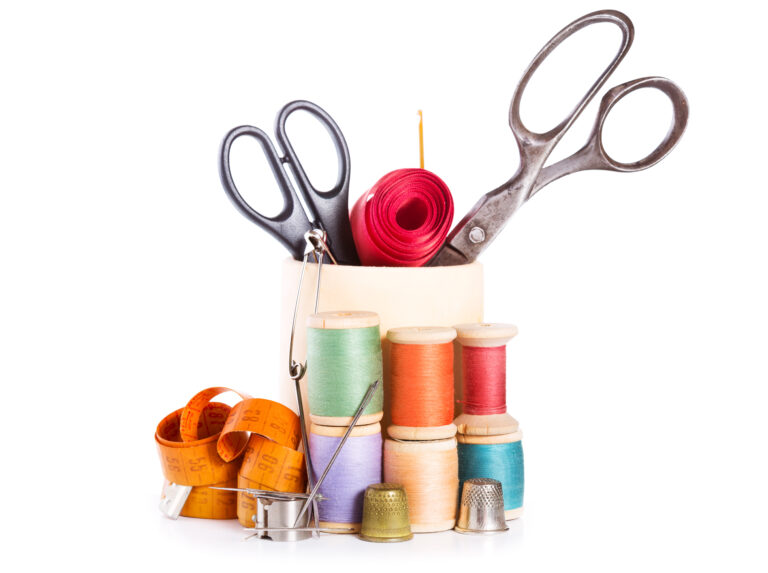
You’ll need some sewing pins, a needle, scissors, thread, and of course the patch and item of clothing. If you are using the patch to cover a tear, measure up to make sure that it is the right size.
Prepare the garment
Tidy up any loose threads and ragged edges in the hole or tear before you begin, by snipping them off with some sharp scissors. Next, pin down the patch so that it stays in place as you sew. Thread the needle and knot the end to keep it from slipping through the fabric. If the fabric is thick, use a double length for extra strength.
Backstitch around the patch
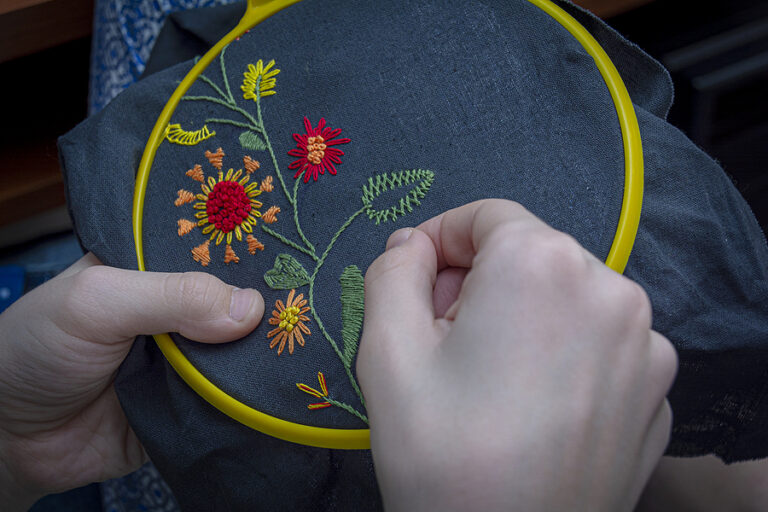
Pick a point on the edge of the patch, and pass the needle up from the underside of the fabric until you meet the resistance of the knot. Continue to make small even stitches all the way around, until you meet your original stitch.
Finally, remove the pins and tie off the threads on the underside of the fabric.
For custom embroidery stitching, talk to us today.


